
You step into your car, buckle up, and hit the remote to close the garage door as you back out—only to have the door close halfway and automatically reverse. Meanwhile, the garage door opener lights are flashing ten times, and the door refuses to budge.
Since 1993, federal law has mandated that all residential garage doors include an infrared safety reversing system. When working correctly, these sensors prevent the heavy door from closing on pets, children, or vehicles. However, when they malfunction, they can trap your car inside or leave your home exposed.
Fortunately, over 90% of garage door sensor issues are simple DIY fixes that require no expensive tools or replacement parts. This comprehensive guide will walk you through the ultimate step-by-step process to diagnose, align, and repair your garage door sensors.
Common Symptoms of Sensor Problems
Before diving into the repairs, check if your garage door is exhibiting any of these telltale warning signs:
-
The Reversal: The door begins to travel downward, stops midway, and automatically reverses back to the open position.
-
The 10-Flash Alert: The main overhead opener motor unit flashes its light bulbs 10 times (or clicks 10 times if the bulbs are burned out) when you try to close it.
-
The Indicator Warning: The small LED indicator lights on the sensors themselves are completely off, flickering, or blinking.
-
The Daylight Issue: The door refuses to close at specific times of day (like high noon or sunrise) but operates perfectly fine at night or in the shade.
-
The Manual Bypass: The door refuses to close via the remote control, but it will close if you manually hold down the wall-mounted button inside the garage.
Step 1: Inspect, Clean, and Align the Sensors
The most common culprit is simply a dirty lens or a slight physical misalignment caused by a rogue bicycle, trash can, or foot knocking into a sensor bracket.
1. Wipe the Lenses Clean
Because sensors sit just 6 inches off the garage floor, they easily collect dust, cobwebs, dirt, and moisture. Grab a soft cloth and a mild cleaner (like Windex) and gently wipe the glass lenses on both units. Check the surrounding area for stray leaves, spiderwebs, or toys blocking the path.
2. Identify Sender vs. Receiver
Your system consists of a Sending Unit and a Receiving Unit:
The Sender typically features a solid Amber/Orange LED. This light indicates the unit has power. It will usually stay lit even if the sensors are completely misaligned.
The Receiver typically features a Green LED (though some brands use red). This light only turns solid when it successfully captures the infrared beam sent by the opposite side.
3. Realign the Brackets
If the green/red LED is blinking or completely off, the sensors are out of alignment.
Loosen the wing nut holding the sensor to the metal track bracket.
Gently adjust the sensor a few centimeters up, down, left, or right until the indicator light pops on solid.
Tighten the wing nut back down securely.
DIY Pro-Tip: Want a flawless alignment? Use a small laser pointer (like a cat toy) and hold it flush against the sending lens to see exactly where it is aiming across the garage floor.
Step 2: Combat Sunlight Interference
Does your garage door work flawlessly at night but fail consistently during the sunniest parts of the day? Direct sunlight can "blind" the infrared lens of the receiving sensor, mimicking a physical obstruction.
-
The Shadow Test: Stand in front of the sensor to cast a shadow over it with your body. If the door closes successfully while shaded, sunlight glare is your issue.
-
The Fix: Try swapping the physical positions of the sender and receiver units (putting the receiver on the more shaded side of the garage door track). Alternatively, you can slide a small piece of cardboard or a dark plastic tube over the sensor to act as a "sun hood" or shade.
Step 3: Inspect and Repair Sensor Wiring
If your sensor lights are flickering intermittently or refusing to turn on at all, a loose, shorted, or broken wire is likely to blame.
Safety First: Always disconnect the electrical power to your overhead garage door opener before touching, stripping, or manipulating any wires.
1. Check the Wire Connections at the Sensor
Follow the thin wire coming out of the back of the sensor to the point where it connects to your house wiring.
Peel back any old electrical tape. (Pro-tip: Spray a little WD-40 on old tape goo to dissolve the sticky residue, then wipe clean).
Inspect the wire nuts. Because sensor wires are a very thin gauge, they frequently snap off right at the base of the wire nut.
If a wire is broken or loose, strip a fresh section of wire, twist them back together inside the wire nut, and give it a gentle pull-test to ensure a solid connection.
Ensure you match the colors properly: Standard installations pair solid white wires together, and white wires with a black stripe together.
2. Check the Connections at the Opener Motor
Head up to the main motor unit hanging from the ceiling and locate the terminal block (on Chamberlain/LiftMaster models, this is usually a set of quick-connect or screw terminals).
Verify that the wires are firmly tucked into their correct slots (e.g., white wires to the white terminal, striped/colored wires to the gray terminal).
Gently tug on the wires to ensure they haven't shaken loose from motor vibrations. Look for any damage caused by staples puncturing the wire insulation along the ceiling.
Step 4: Test the Door Manually (Isolate the Mechanicals)
Sometimes the problem isn’t the sensors at all; rather, the garage door itself is experiencing physical resistance, which triggers the opener's safety auto-reverse mechanism.
Locate the emergency release cord (usually a red rope hanging from the opener trolley) and pull it to disconnect the door from the automated drive mechanism.
Manually lift and lower the garage door by hand.
Analyze the movement: Does the door roll smoothly? Or does it stick, bind, or feel incredibly heavy halfway through its travel?
If it moves smoothly: Your door tracks and springs are fine; focus your attention back on the electronics and sensors.
If it sticks or feels heavy: Inspect your rollers, tracks, and springs. Your tracks may need cleaning and a coat of silicone spray lubricant, or you may have a broken torsion spring.
Caution: Garage door springs are under immense, hazardous tension. If a spring is broken, do not attempt to adjust it yourself—call a professional technician.
Step 5: Recalibrate Travel Limits and Opener Sensitivity
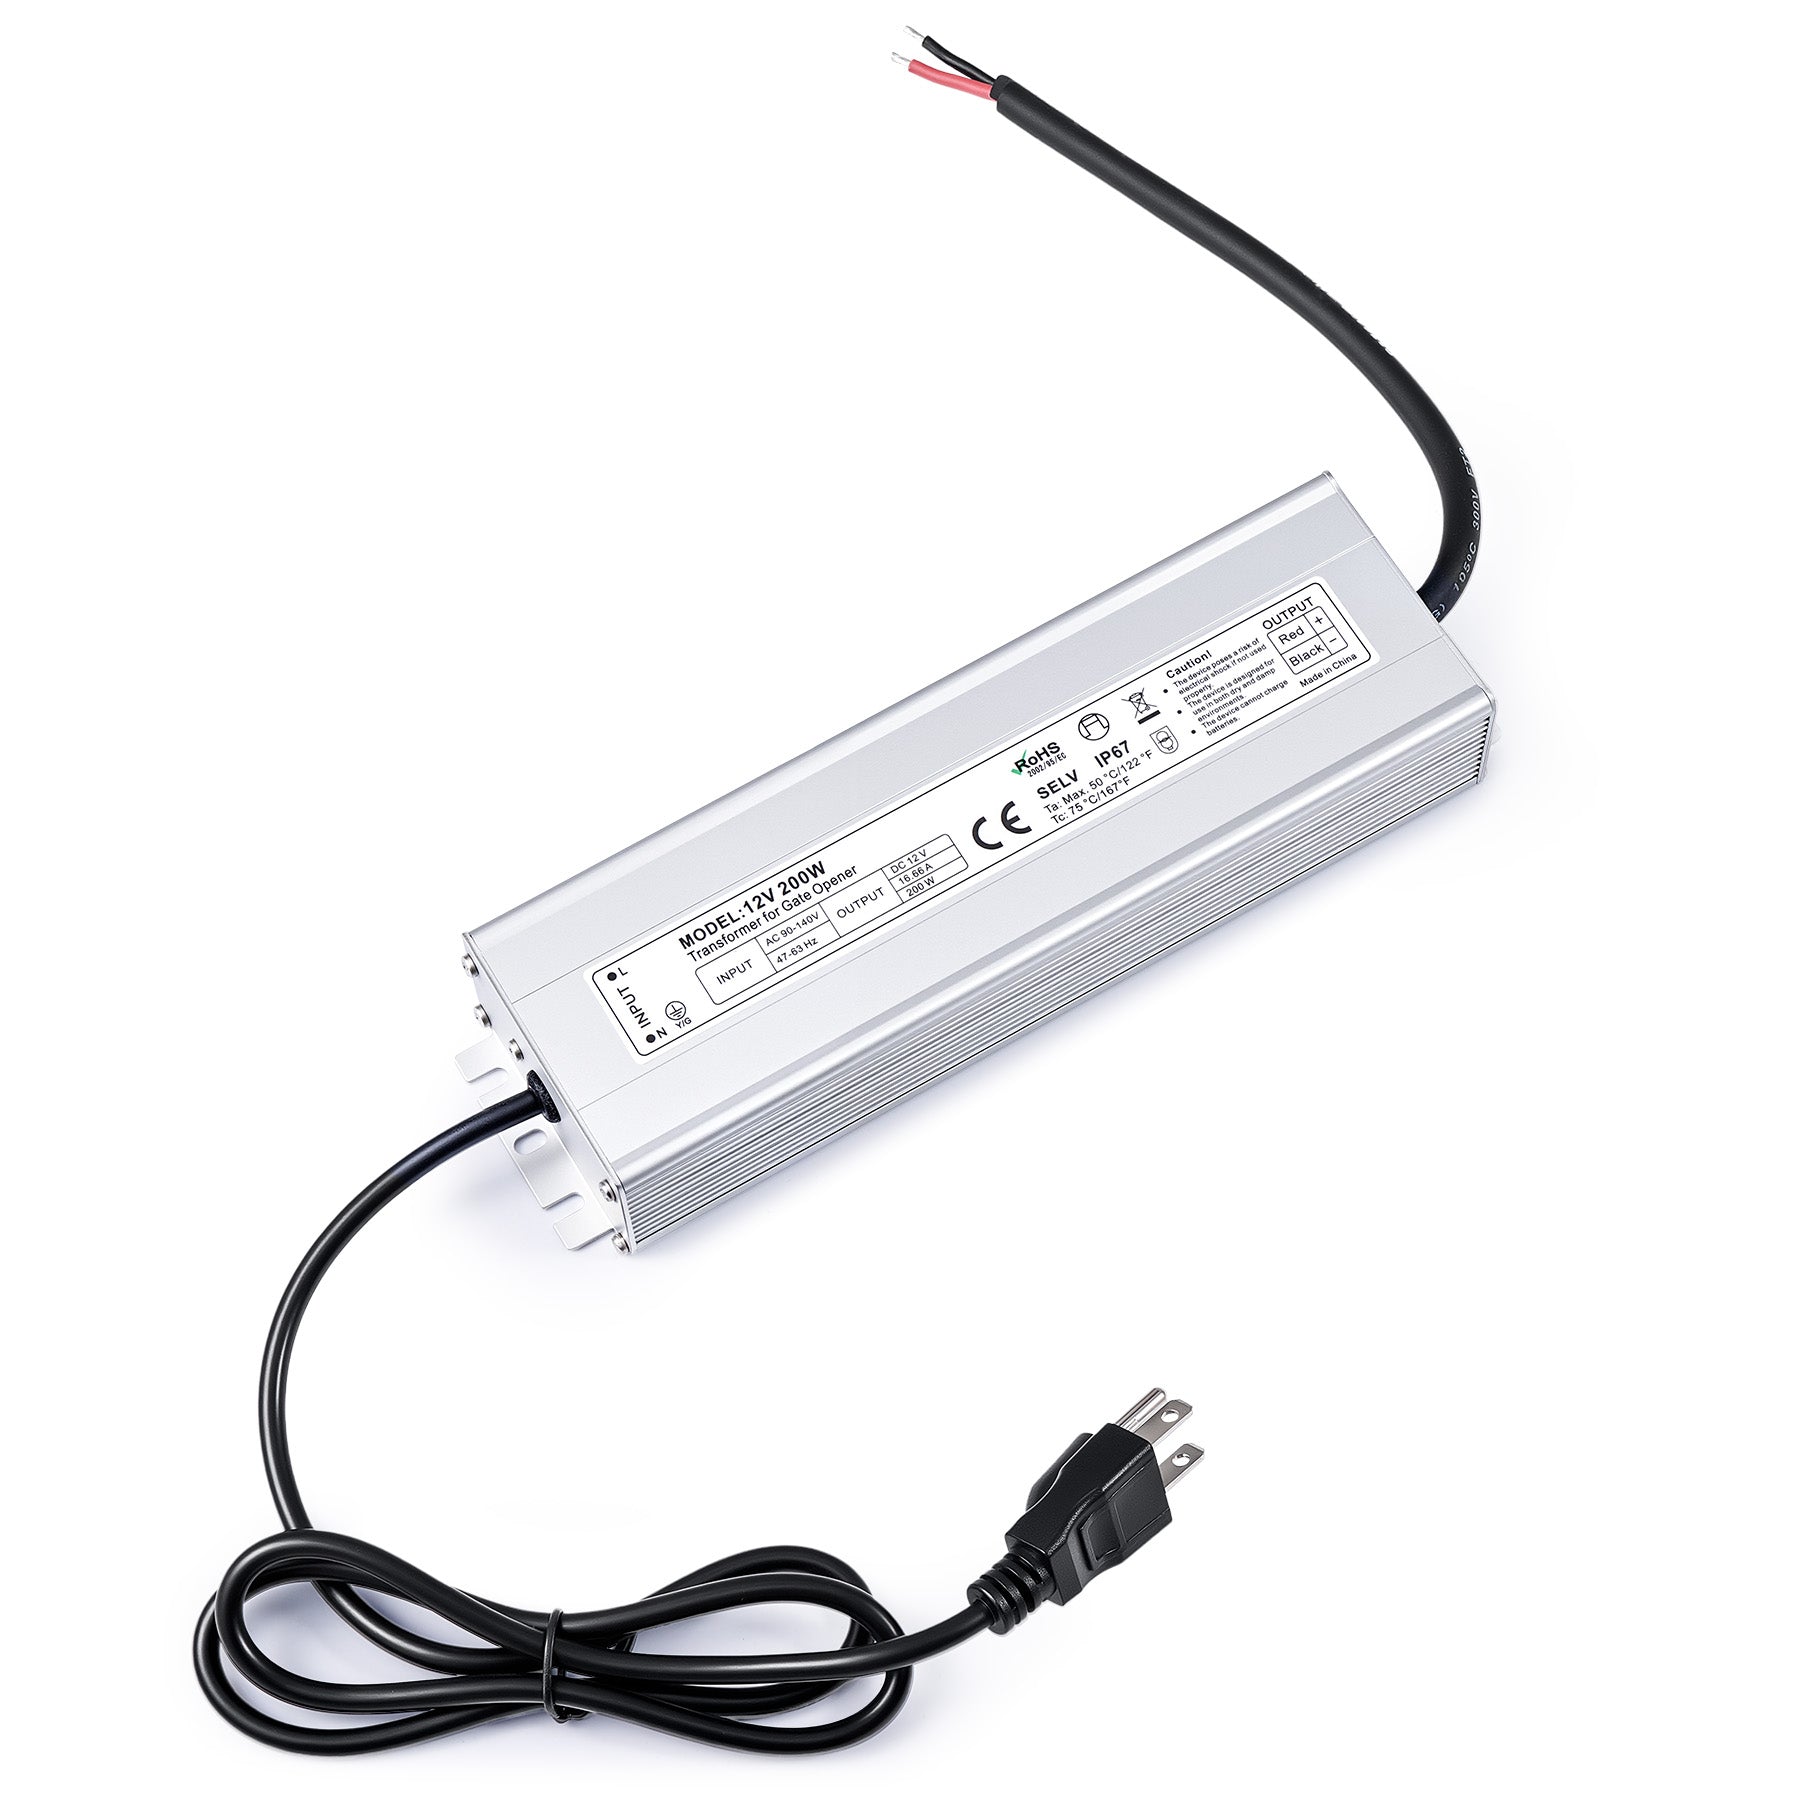
Modern smart openers (like the Chamberlain B2202) require precise programming of their digital "travel limits" (how far down the door goes before stopping). If these limits are slightly off, the motor will mistake the garage floor for an obstruction and trigger a sensor error code.
1. Redo the Adjustment/Travel Limits
If you are setting up or resetting your system and get 10 flashes, the system is telling you it detects a sensor fault during setup.
Unplug the opener to reset the logic board.
Plug it back in, ensure your sensor lights are solid, and meticulously rerun the Travel Limit and Force Setting procedure exactly as outlined in your specific opener’s user manual.
2. Adjust the Closing Force Sensitivity
Many overhead openers feature mechanical dials or digital menu settings on the back of the motor to adjust "Up Force" and "Down Force."
If your door encounters minor wind resistance or cold-weather stiffness, it may reverse automatically.
Gradually increase the closing force dial by a quarter-turn at a time until the door reliably completes its closing cycle.
Caution: Avoid cranking the sensitivity to maximum, as this bypasses crucial safety features and could cause injury or property damage if the door hits an actual obstacle.
Step 6: The Direct "Bench Test" (Are the Sensors Dead?)
If you have executed all of the steps above and your garage door still flashes 10 times and refuses to close, it's time to find out if your sensors are completely dead or if there is a hidden break in the wire running through your walls.
To isolate the issue, perform a Bench Test:
Physically remove both the sending and receiving sensors from their brackets at the bottom of the garage door tracks.
Take them up a ladder to the overhead motor unit on the ceiling.
Disconnect your house's internal wall wiring from the motor terminals.
Take the short wires attached directly to the sensors and wire them straight into the motor terminals (whites to white, stripes to gray).
Point the two sensors directly at one another from a few inches away.
The Verdict
Scenario A (The lights turn on solid): Your sensors work perfectly! This proves that the sensors are healthy, but you have a hidden short-circuit or a broken wire buried inside your garage walls. The easiest solution is to buy a fresh spool of low-voltage bell wire and run a new, visible line from the motor down to the tracks.
Scenario B (The lights stay off or blink): Your safety sensors are officially dead and broken internally.
If you land on Scenario B, don't sweat it. Replacement safety sensor kits are widely available online or at local hardware stores for around $30. They take less than 15 minutes to wire up and install, instantly getting your garage door back in pristine, safe working order!
Checklist for Quick Fixes
|
Step |
Action Item |
Target Indicator |
|
1 |
Clean lenses with a cloth & align brackets |
Solid Amber (Sender) & Solid Green (Receiver) |
|
2 |
Add a cardboard shade if facing the sun |
Stops daylight-specific reversing |
|
3 |
Strip and tighten loose wire nuts |
Eliminates intermittent flickering |
|
4 |
Release pull-cord and test door manually |
Ensures smooth track movement without binding |
|
5 |
Perform a "Bench Test" at the motor unit |
Diagnoses a broken wall wire vs. a dead sensor |
FAQs About Garage Door Sensors
How do I reset the garage sensor?
To reset garage door sensors, start by turning off the power to the garage door opener and waiting about 30 seconds before turning it back on. This allows the system to fully reboot and clear any temporary errors.
Once powered back on, check that both sensor lights are on and stable (usually solid, not blinking). If your model requires it, you may also need to hold the wall button for 10–15 seconds or run a full open-and-close cycle to recalibrate the system.
If the sensors still don’t work after resetting, the issue is more likely related to alignment, wiring, or a faulty sensor rather than needing another reset.
How can I tell if my garage door sensor is bad?
You can usually tell a garage door sensor is bad if your door behaves unpredictably, even when nothing is blocking its path. Common signs include the door reversing partway down, not closing fully, or refusing to close at all.
Visually inspect the sensors: the LED lights on each unit should be solid—if one is off or blinking, the sensor may be failing. Dirty lenses, loose wires, or misalignment can also mimic a bad sensor, so clean the lenses and check the wiring and alignment first.
If problems persist despite these checks, the sensor itself may need replacement.
Can I replace garage door sensors myself?
Yes, most modern sensors are DIY-friendly. Steps generally include:
-
Power off the opener.
-
Remove the old sensor from its bracket.
-
Install the new sensor, ensuring it faces its counterpart correctly.
-
Connect wires and test alignment.
If you’re uncomfortable working near electricity or the door springs, consider hiring a professional.
How long do garage door sensors usually last?
Typically, sensors last 5–10 years, depending on exposure to weather, dirt, and physical impacts. Sensors on doors exposed to direct sunlight or extreme temperatures may degrade faster.
How much does it cost to replace a garage door sensor?
Replacement sensors usually cost between $15–$50 for most residential doors. Labor costs vary if you hire a technician, generally $50–$100, depending on location.
Can I run my garage door without sensors?
It’s not recommended. Sensors are a crucial safety feature that prevents the door from closing on people, pets, or objects. Most modern openers won’t operate without functioning sensors. Some models allow temporary override by holding the wall button, but this should be used cautiously.
How to repair garage door sensor wire?
Repairing a garage door sensor wire can be straightforward if done carefully. First, disconnect power to the garage door opener to avoid shocks. Inspect the sensor wire along its entire length for cuts, frays, or exposed copper.
If you find a damaged section, cut out the damaged part using wire cutters. Strip about ½ inch of insulation from each end of the cut wire, then twist the exposed wires together and secure them with wire nuts or electrical tape.
For extra durability, you can use heat-shrink tubing over the splice to protect it from moisture and movement.
After repairing, make sure the wire is routed along the original path, avoiding sharp bends or areas where it might rub against metal edges. Reconnect the sensors and restore power, then test the garage door to ensure the sensors are functioning correctly. If the sensor still doesn’t work, the wire may have hidden breaks inside the insulation, and replacing the entire sensor wire might be the safest solution.
Learn More:
How to Fix a Garage Door Sensor? (Easy DIY Fix)
How to Lubricate A Garage Door: Step-by-Step Guide
Why Is My Garage Door Opener Beeping?
What Size Garage Door Opener Do I Need? Complete Guide
How Long Does a Garage Door Opener Last?
How Does a Wall-Mounted Garage Door Opener Work?
What Is a Smart Garage Door Opener?
Garage Door Opener Not Working When Cold