
Every time you press your remote control, a complex system of gears, electrical signals, and mechanical forces works together to lift hundreds of pounds of steel or wood effortlessly. But when that system stalls, throws a tantrum, or starts making strange noises, it can leave you feeling stuck.
Understanding your garage door opener parts isn't just for professionals. Knowing how these components fit together helps you troubleshoot minor issues, empowers you to handle basic DIY repairs safely, and saves you hundreds of dollars in unnecessary technician service fees.
What are the parts on a garage door opener?
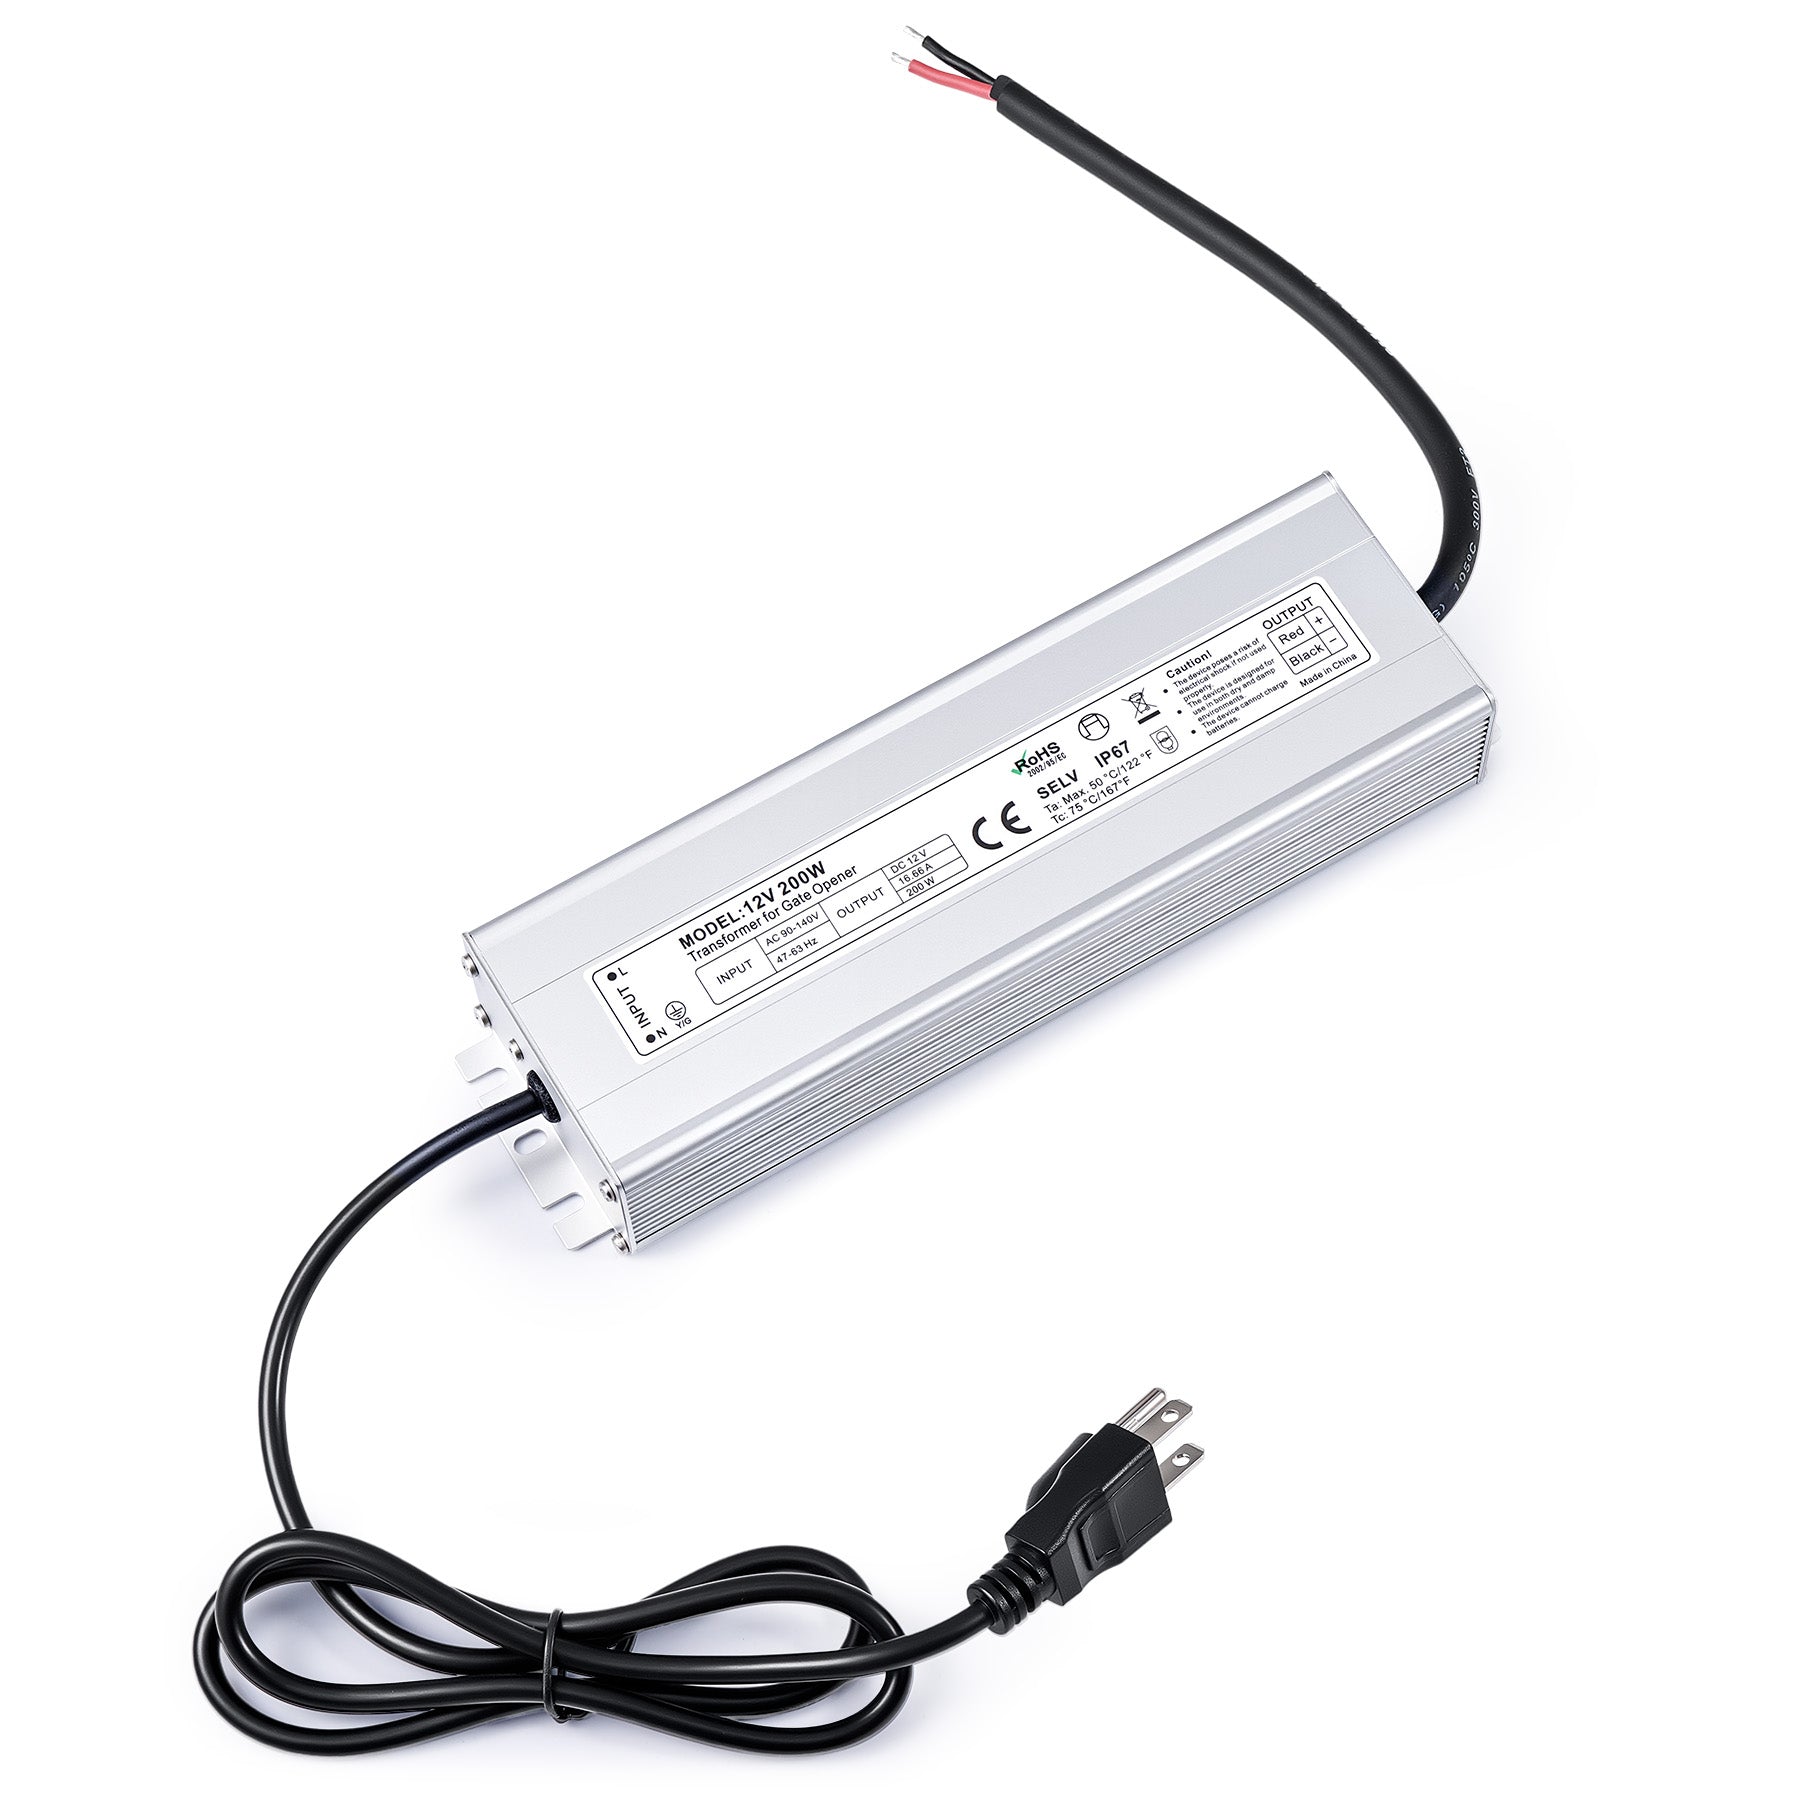
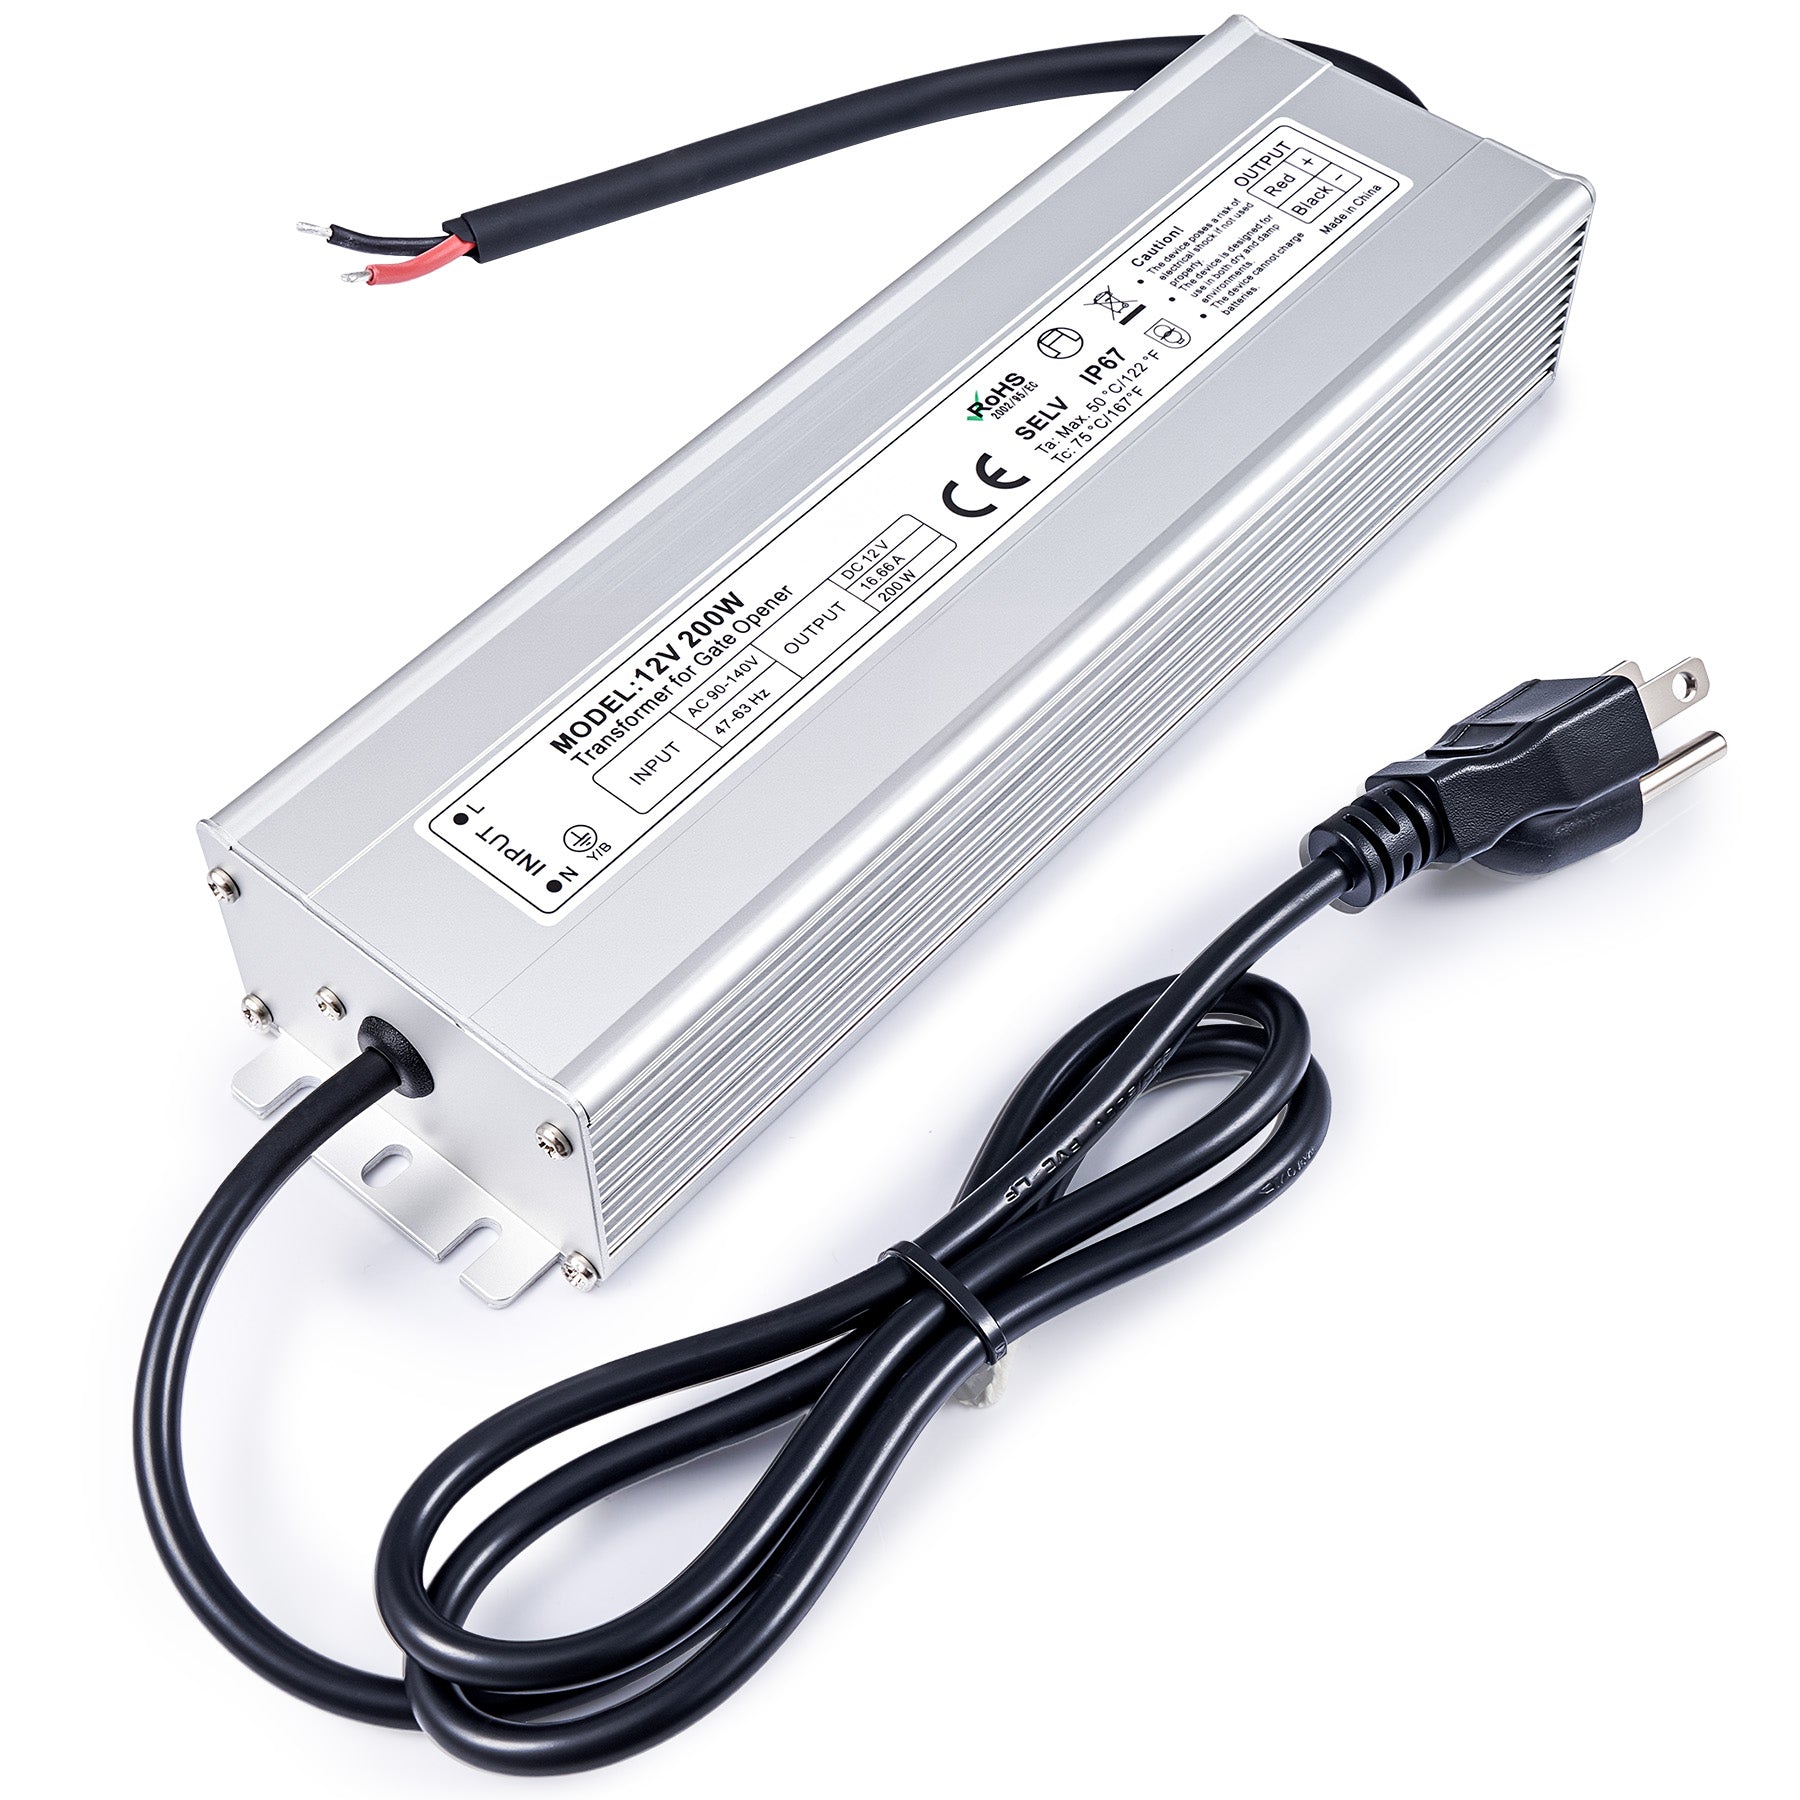
A garage door opener consists of a motorized overhead system where the core motor unit (power head) houses an internal logic board, gear and sprocket assembly, and a starting capacitor to manage electrical signals and physical force.
This unit links to a long metal rail system that serves as a track for a sliding trolley (or carriage), which is pulled back and forth along the rail via a drive system—typically utilizing either a heavy-duty steel chain, a quiet reinforced belt, or a rotating screw drive. The trolley connects directly to a curved door arm (J-arm) that physically lifts and lowers the garage door panels.
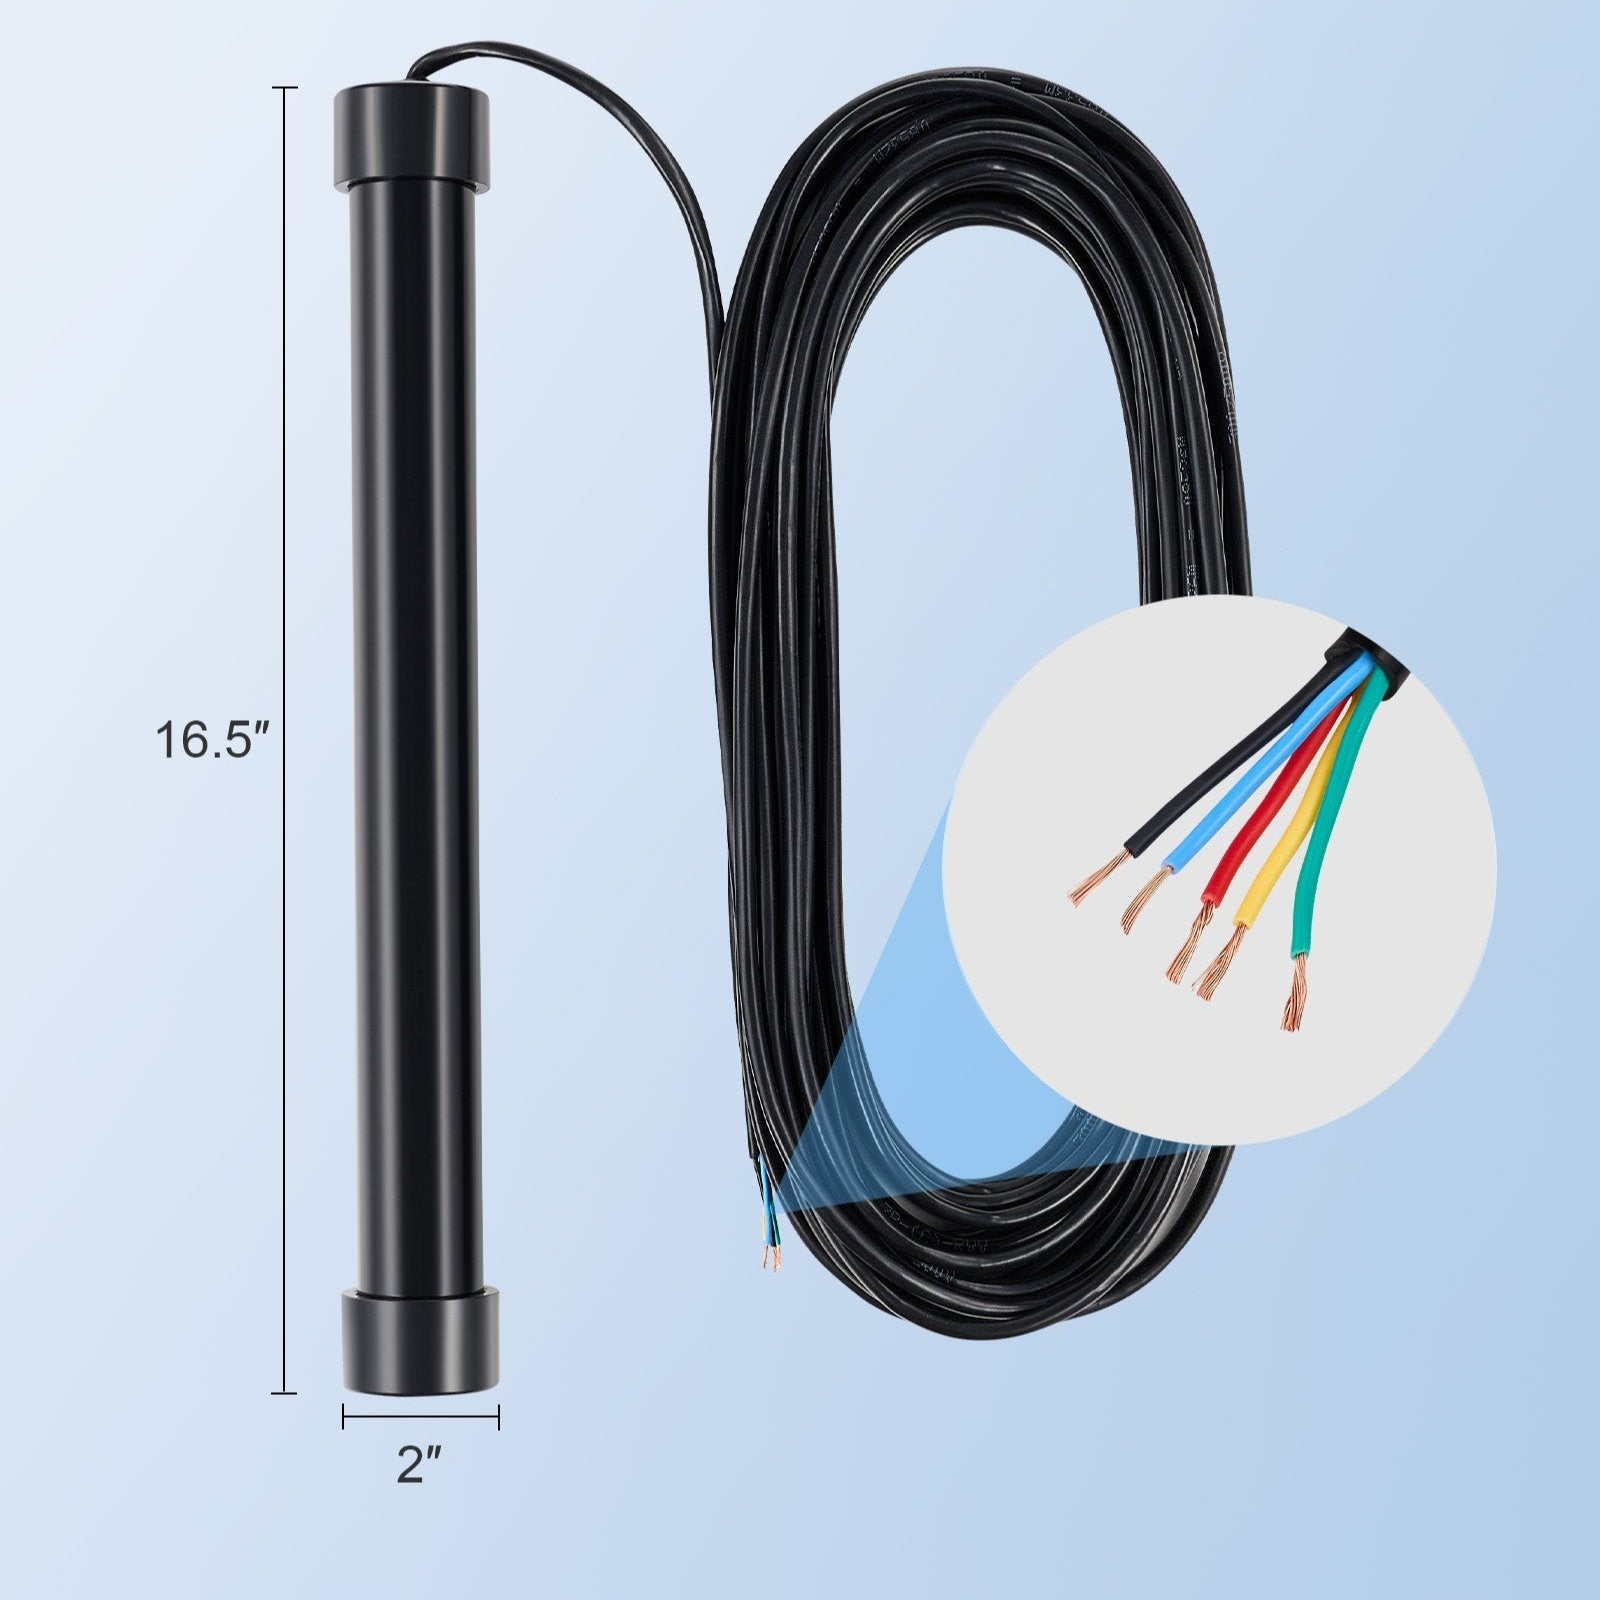
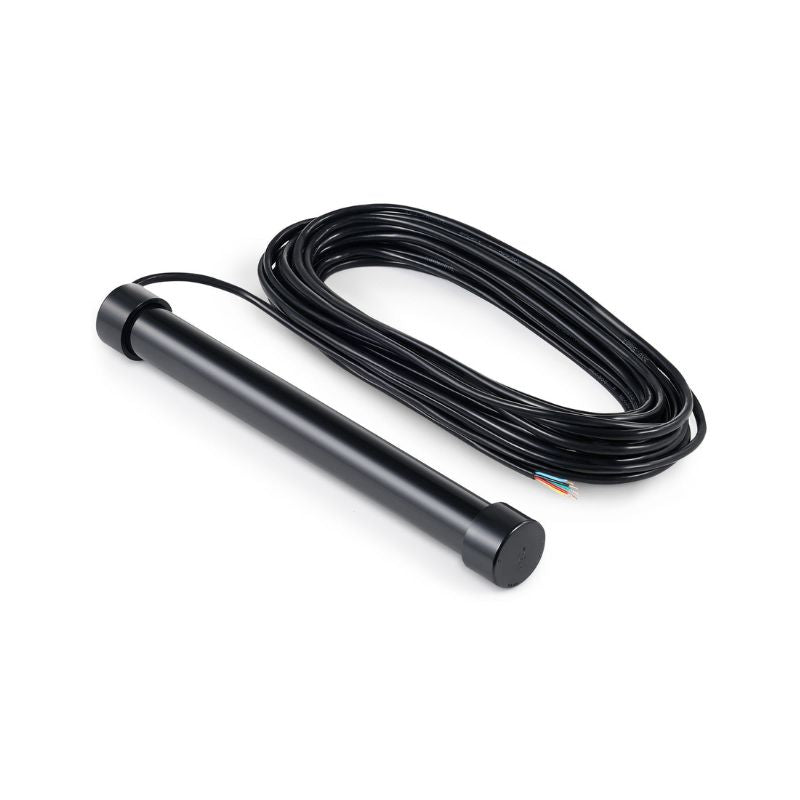
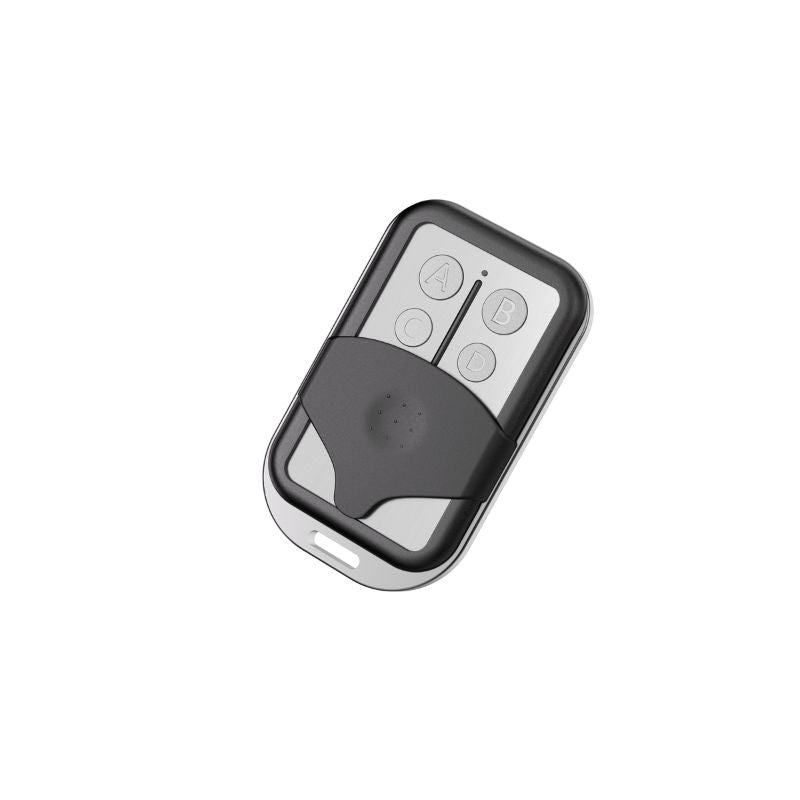
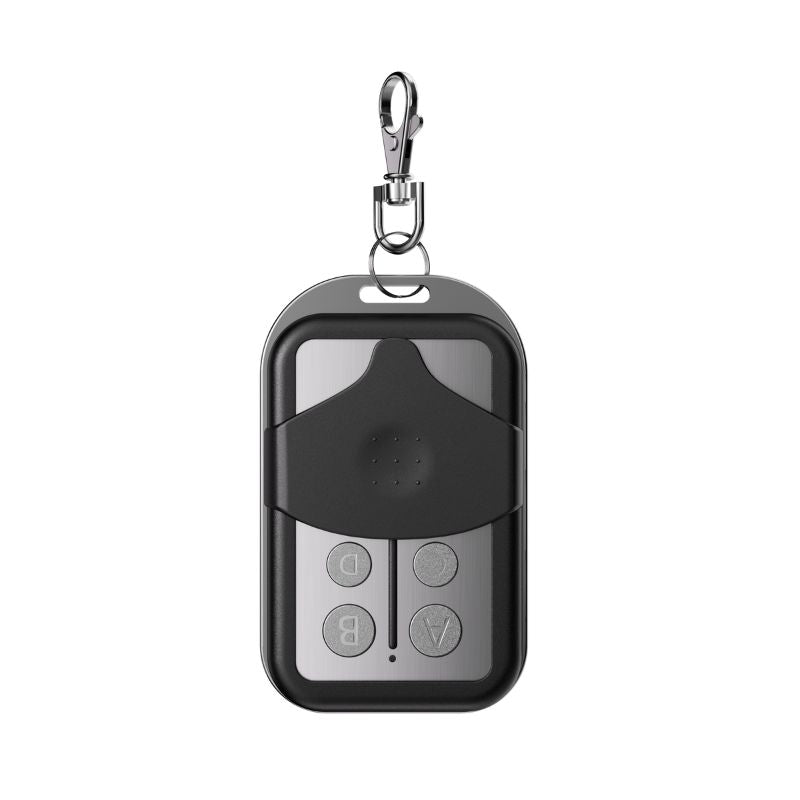
Key external components include hardwired wall control buttons, wireless remote control transmitters that communicate with the unit's hanging antenna, and crucial infrared safety sensors (photo eyes) mounted near the floor to detect obstructions and prevent accidental injuries.
Garage Door Opener System
At its core, a garage door opener acts as the "brains and brawn" of your garage ecosystem. While the heavy lifting is technically assisted by your garage door's large torsion or extension springs, the opener controls the movement, provides the initial force, and regulates safety boundaries.
To make it easy to understand, we can group the entire system into three primary categories:
-
Mechanical Components: The moving parts that physically pull, push, and transfer raw energy to lift the heavy door.
-
Electrical Components: The "brain center" and wiring that accept signals, regulate power boosts, and process commands.
-
Safety Components: Critical features designed to monitor the door's path and stop operations instantly if a child, pet, or vehicle is blocking the way.
Garage Door Opener Parts Diagram Explained
Before diving into individual parts, let's look at how the entire path of motion works. When you activate the system, power travels along a specific chain of command:

Garage Door Opener Parts List: The Main Components
|
Component |
Category |
Main Function |
|
Motor Unit (Power Head) |
Electrical / Mechanical |
The central overhead box housing the electric motor, logic board, and gears; acts as the system's powerhouse. |
|
Drive System (Chain, Belt, or Screw) |
Mechanical |
Translates the motor's spinning power into linear movement to physically pull or push the door. |
|
Rail System |
Mechanical |
The long horizontal metal track extending from the motor to the wall that acts as the highway for the trolley. |
|
Trolley (Carriage) |
Mechanical |
The moving piece connected to the drive chain/belt that slides along the rail; features the red emergency release cord. |
|
Door Arm (J-Arm) |
Mechanical |
The heavy curved metal bridge linking the sliding trolley directly to the top of the garage door panel. |
|
Gear and Sprocket Assembly |
Mechanical |
Internal composite gears that transfer raw motor power to the drive sprocket; a common wear-and-tear item. |
|
Logic Board (Circuit Board) |
Electrical |
The central computer brain that receives remote control signals and coordinates all automation inputs. |
|
Limit Switches |
Electrical |
Internal contacts or digital sensors that establish how far the door should travel down or up before stopping. |
|
Safety Sensors (Photo Eyes) |
Safety |
Floor-level infrared beams that instantly stop and reverse the door if an obstruction breaks the signal. |
|
Wall Control Button |
Electrical |
The hardwired indoor command pad used to manually operate the door, toggle lights, or lock out remote access. |
|
Remote Control Transmitter |
Electrical |
The wireless car clicker or keypad that sends secure, frequency-based rolling codes to activate the system. |
|
Antenna |
Electrical |
A small insulated wire hanging from the motor unit designed to capture incoming radio signals from remotes. |
|
Capacitor |
Electrical |
A small storage cell that delivers a massive electrical power boost to provide the motor with startup torque. |
Garage Door Opener Drive Types Compared
|
Feature |
Chain Drive |
Belt Drive |
Screw Drive |
|
Noise Level |
High (Metallic clanking) |
Ultra-Quiet |
Moderate |
|
Maintenance |
Regular lubrication & tension |
Low maintenance |
Minimal lubrication |
|
Average Lifespan |
10–15 Years |
10–15 Years |
10–12 Years |
|
Best Use Case |
Detached garages / heavy doors |
Attached garages under bedrooms |
High-use climates with stable temps |
Common Problems with Garage Door Opener Parts
-
Door Not Responding to Remotes: This point frequently points to a fried logic board, a dead battery inside the remote transmitter, or an antenna wire cut accidentally.
-
Loud Grinding Noise (Motor Runs, Door Doesn't Move): Classic sign of a stripped gear and sprocket assembly. The plastic teeth wear down to white powder over time.
-
Door Reverses Unexpectedly: Usually caused by dirty or misaligned photo-eye safety sensors, or limit switches that need minor calibration.
-
Motor Hums loudly but fails to move: Indicates a failing capacitor that can no longer supply the initial startup power boost.
How to Identify & Troubleshoot Faulty Parts
-
Perform a Visual Inspection: Regularly look inside the motor casing for plastic shaving snow (sign of worn gears) and look at the bottom of the tracks for flashing LED lights on your safety sensors.
-
Listen Carefully: A sudden high-pitched squeal means your metal rail or chain requires fresh silicone lubricant. A straining hum means something is binding physically.
-
Test the Balance manually: Pull the emergency release cord to disconnect the trolley. Lift the door halfway by hand and release it. If it falls or shoots upward violently, your garage springs are out of balance—not your opener.
DIY Maintenance Tips for a Longer Lifespan
Keep your system running reliably for over a decade with these simple maintenance practices:
-
Lubrication Schedule: Every six months, apply a high-quality garage door lithium or silicone spray to the rail, hinges, rollers, and drive chain. Avoid standard WD-40, as it attracts dust and strips away factory grease.
-
Sensor Cleaning: Wipe down the glass lenses of your photo eyes with a clean microfiber cloth to remove dust, cobwebs, and moisture film.
-
Tension Check: Periodically inspect your chain or belt. If it sags significantly below the horizontal rail, use the adjustment bolt near the trolley to snug it up.
FAQ
What are the most important parts of a garage door opener?
The motor unit, the gear assembly, and the logic board are the most critical interior elements. Externally, the safety sensors are vital because the system will completely refuse to close without a solid, functional connection between them.
Can I replace garage door opener parts myself?
Yes! Replacing remote batteries, swapping out a bad capacitor, aligning safety sensors, and even replacing the gear and sprocket assembly are safe, straightforward DIY projects. However, never attempt to service or adjust the garage door's main counterbalance springs—those are under extreme tension and can cause severe injury.
Why does my garage door opener make so much noise?
If it's a chain drive, a certain amount of noise is normal. However, severe rattling or grinding typically stems from unlubricated tracks, worn internal gears, or loose hardware mounts rattling against the ceiling joists.
How long do garage door openers last?
On average, a well-maintained residential garage door opener lasts between 10 to 15 years. Regular lubrication and maintaining correct door spring balance are the biggest factors in pushing that lifespan toward the 15-year mark.
Is it worth repairing a garage door opener?
Repairing a garage door opener is often highly worth it if the problem involves easily replaceable, low-cost components like a dead capacitor, misaligned safety sensors, a worn-out logic board, or a stripped gear and sprocket assembly.
Because these individual parts can often be swapped out safely and affordably—frequently as DIY projects—fixing them can instantly resolve common mechanical failure points and extend the system's operational lifespan.
However, if the opener is approaching or has exceeded its average 10 to 15-year lifespan, or if the primary motor itself has failed entirely, the cumulative cost of labor and specialized parts makes a complete replacement the safer, more cost-effective, and more energy-efficient choice.
Conclusion
Understanding your garage door opener parts is the ultimate way to stay ahead of home maintenance headaches. By recognizing how the system moves from the motor down to the door arm, you can pinpoint issues early, safely execute simple repairs yourself, and make smart choices on when to DIY versus when to call a certified professional.
Learn More
What Are the Parts for a Garage Door?
How to Fix a Garage Door Sensor? (Easy DIY Fix)
How to Lubricate A Garage Door: Step-by-Step Guide
Why Is My Garage Door Opener Beeping?
What Size Garage Door Opener Do I Need? Complete Guide
How Long Does a Garage Door Opener Last?
How Does a Wall-Mounted Garage Door Opener Work?